
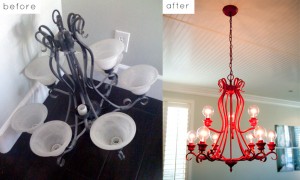
 From the moment I this before and after picture on Design Sponge, I knew that this was MY kind of project! I went to my local Habitat for Humanity store and purchased an old brass chandelier—you know the ones that were popular in the 80’s and 90’s with the little lamp shades on each light bulb.
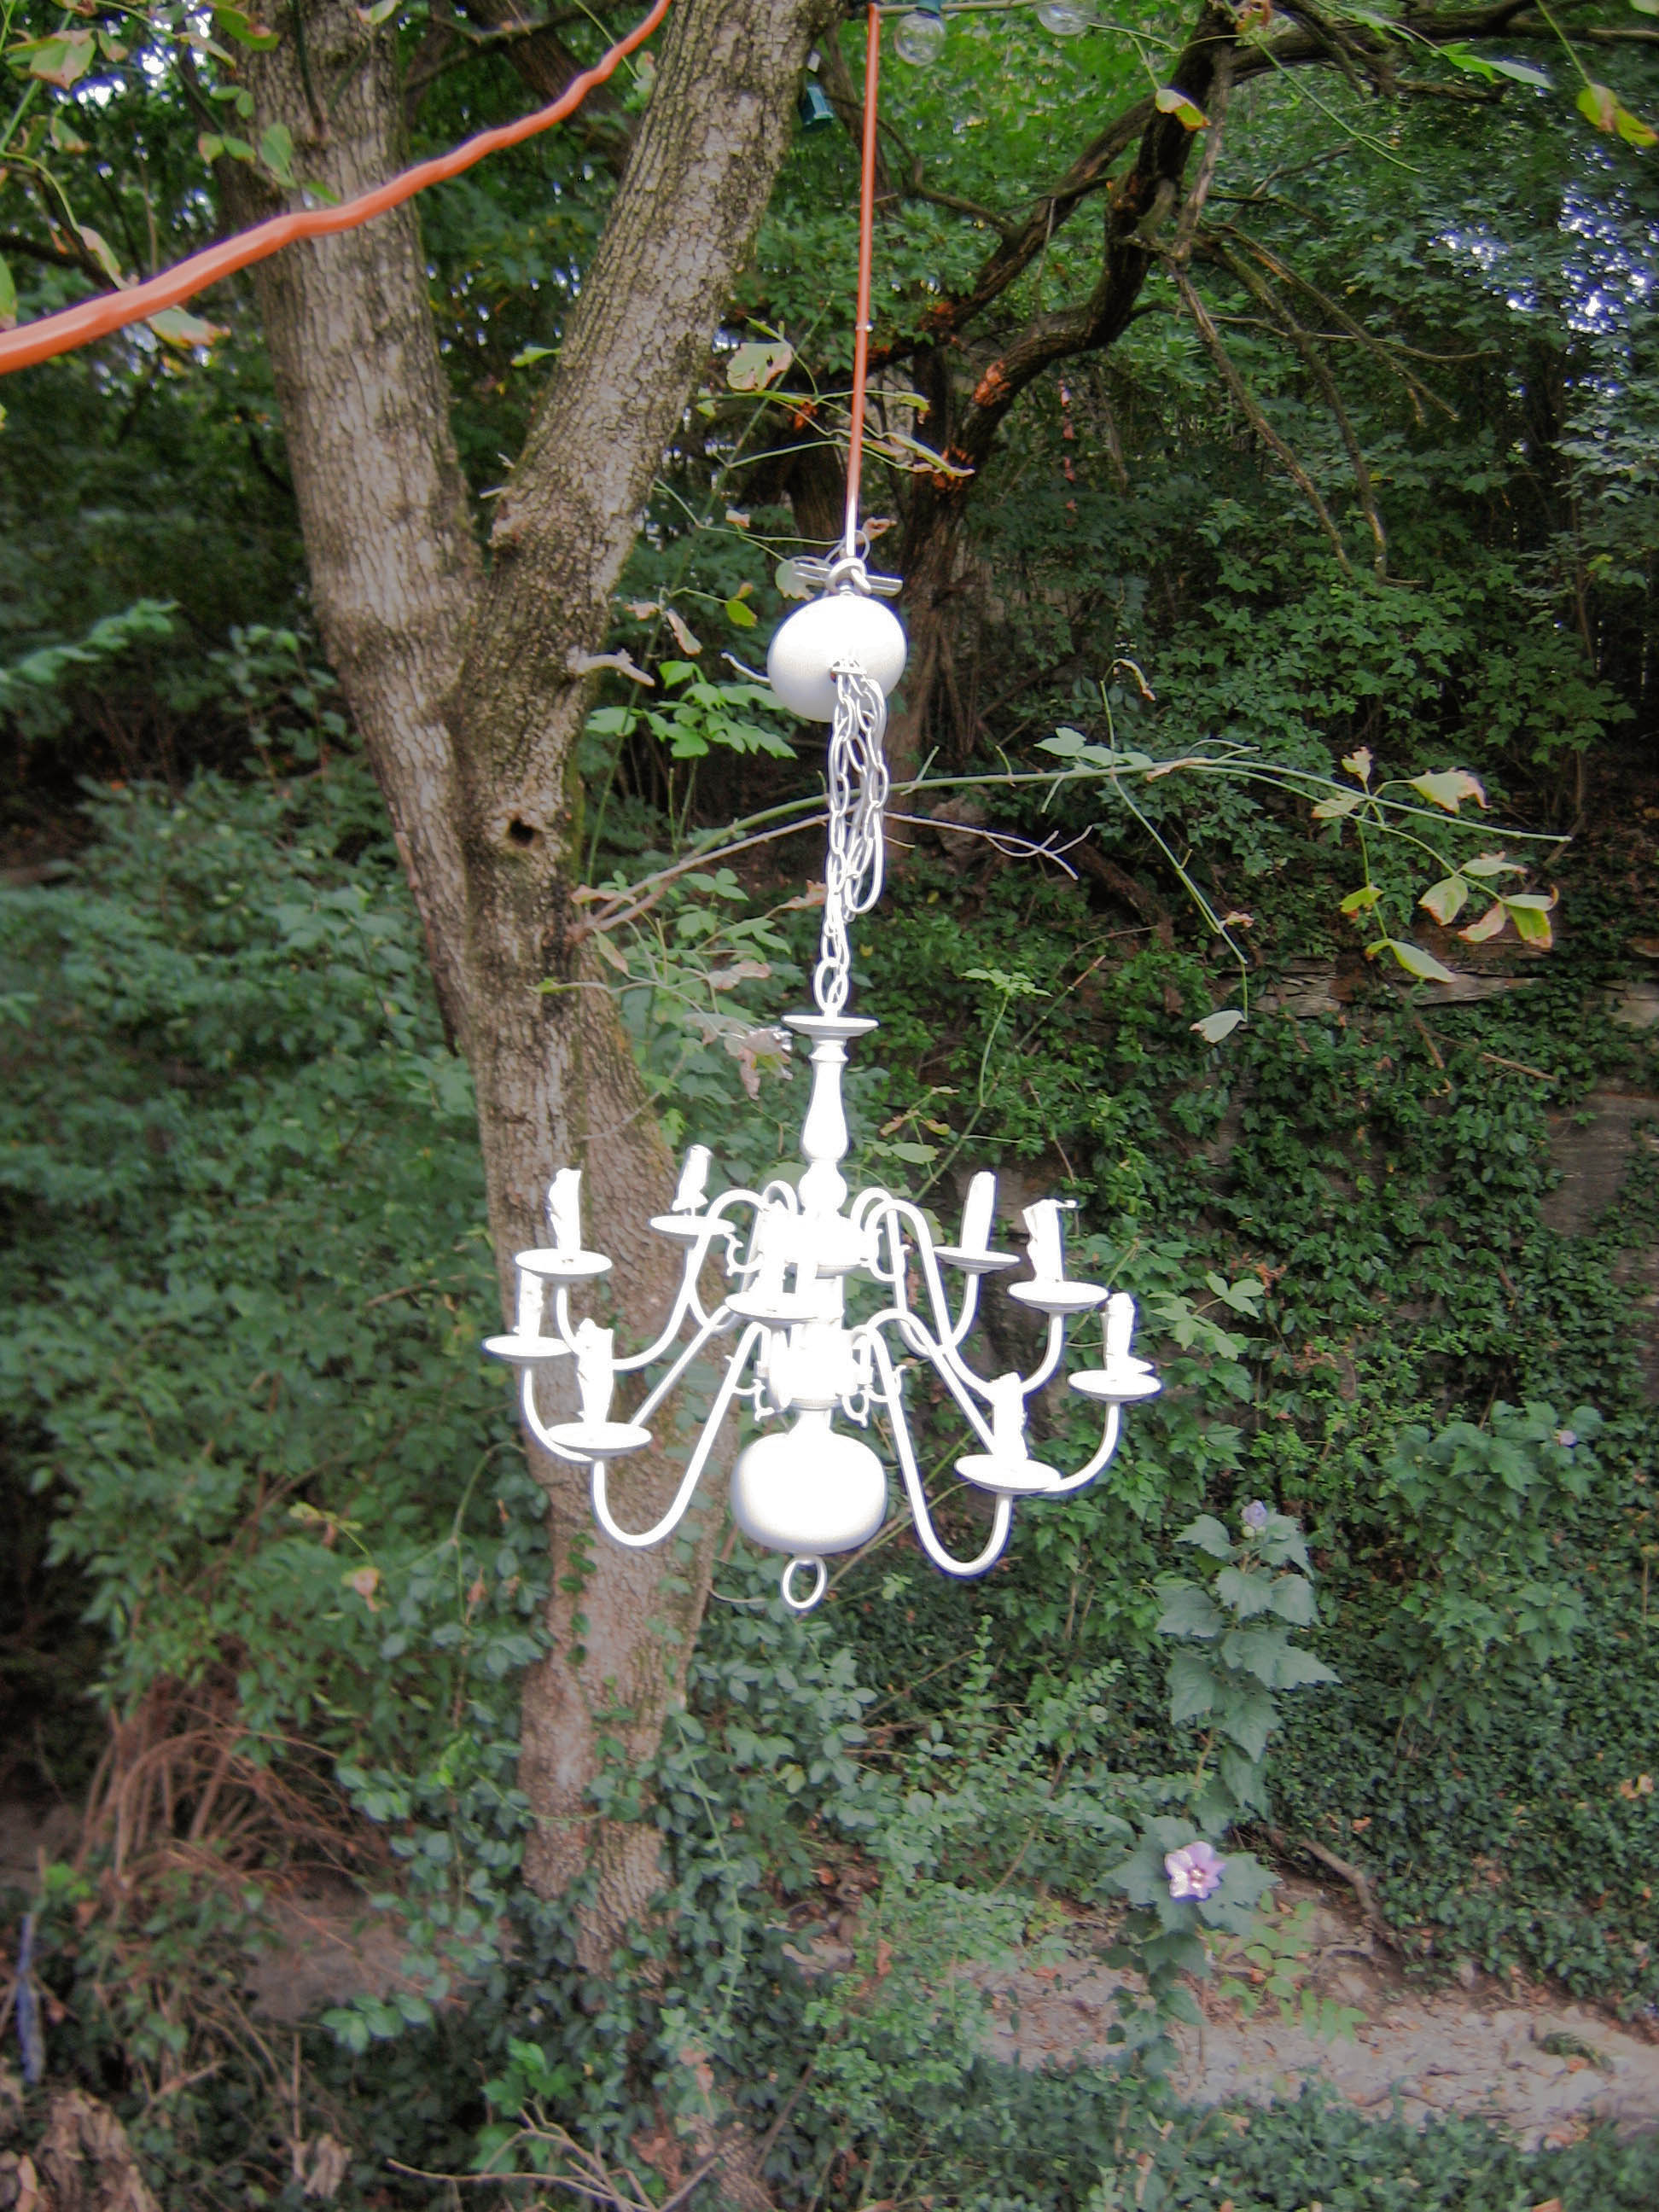
After some thought, I decided on the color to paint it and took it out to the backyard. I wanted to be able to paint it from above, below, and from the sides. To do this, I decided that I needed to hang it up. The best place to do this in the backyard?—a tree! No rope—no problem. I used my long industrial extension cord in place of a rope. And after a few coats of paint and plenty of drying time, I was ready to install it.
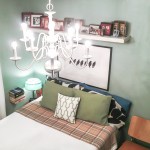
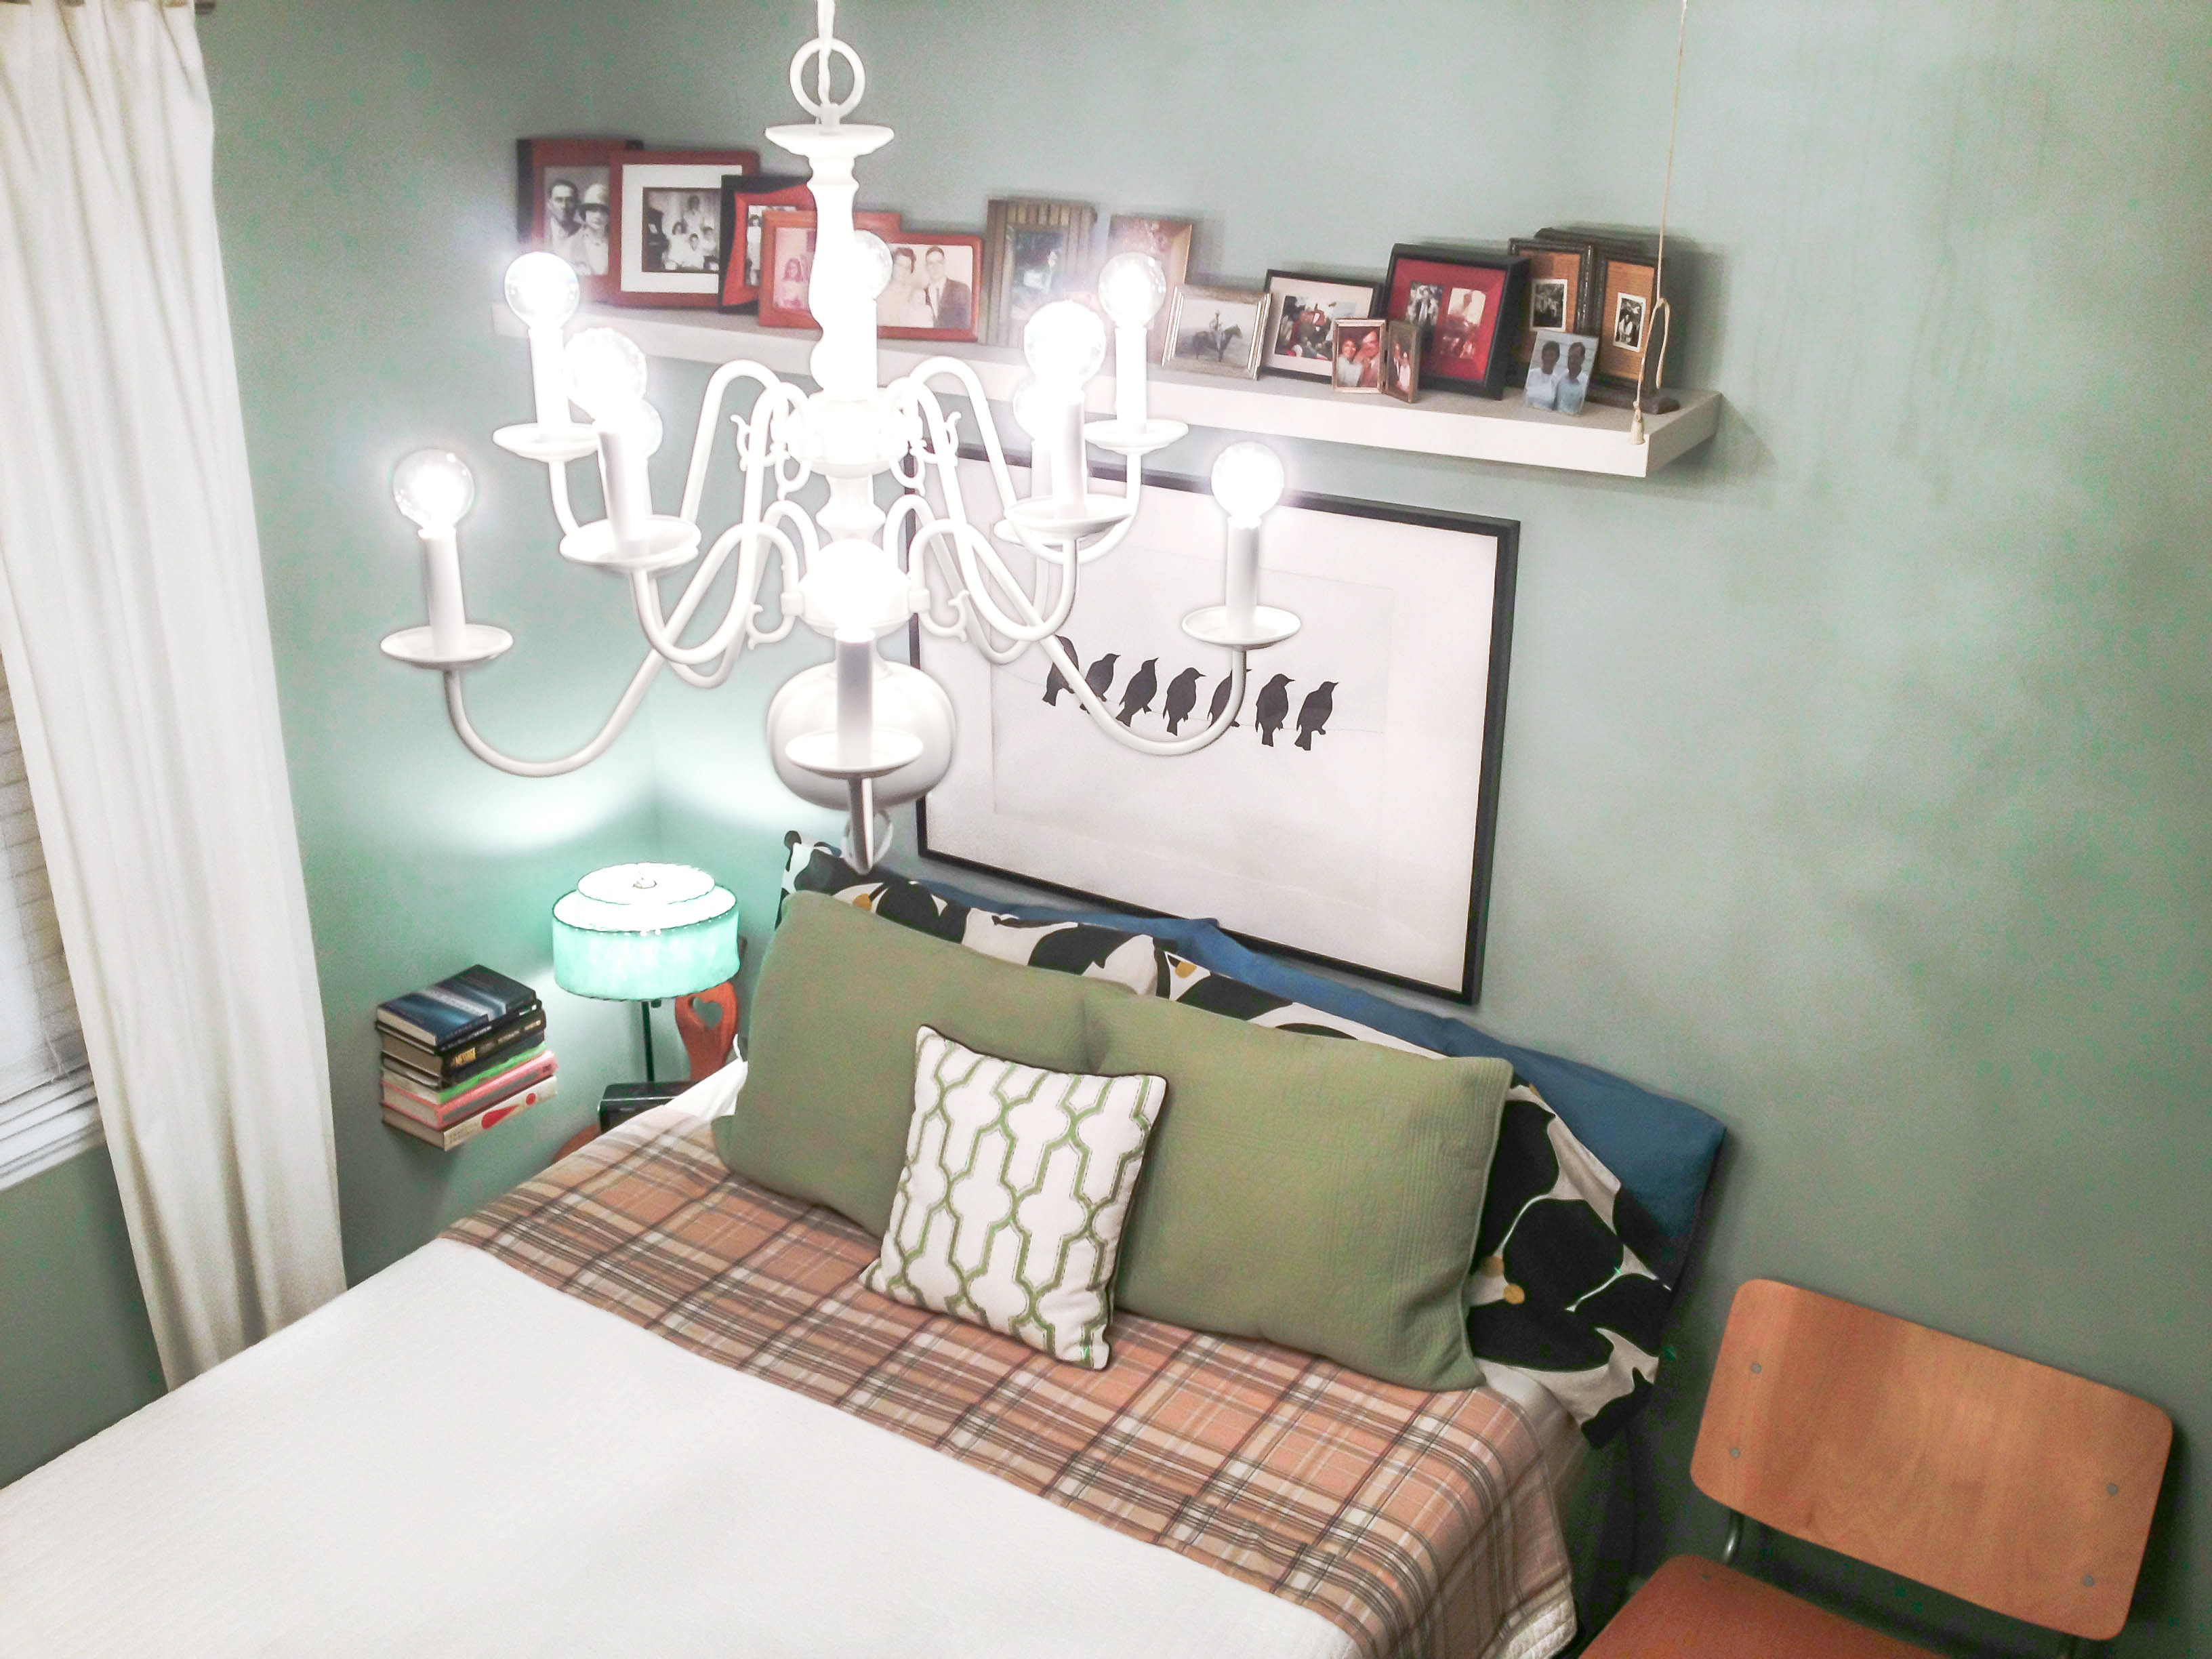
Here was the tricky part—I couldn’t hold it up (it’s fairly heavy) and install it all by myself. So my friend, Keith, who always helps me when I’m in a pinch, came over and made me hold it while he installed it (I didn’t mind this arrangement one bit). I took out the light bulbs that looked like candle flames and added more modern round bulbs. At first I used 40 watt bulbs; but with 10 bulbs, 40 watts proved to be way too bright. I switched them out with 20 watt bulbs and my chandelier provides good light and is a sophisticated update to my bedroom.
For more chandelier color options, check out Apartment Therapy‘s post on spray-painted chandeliers.
that turned out to be so SO cool! nice addition to a beautiful room!
This is so lovely! I love this idea; thank you for showing us how to do this. : )
I have been thinking about doing this but was nervous about it. Now that I have seen it done I plan to do it also. Thanks for sharing!
Don’t be nervous Tami. You can’t really mess this up as long as you apply the spray paint in light strokes (to avoid drips). Good luck with the project!
That is very cool and really a great idea!! Nice!!
Great way to update a fixture! And a fun way to spend a Saturday afternoon! So many fun directions you can go with this idea that won’t cost a fortune from a chic boutique! Thanks for sharing!
Absolutely love this project. Thank you for making this even more approachable. The way you described your process makes it much less daunting.